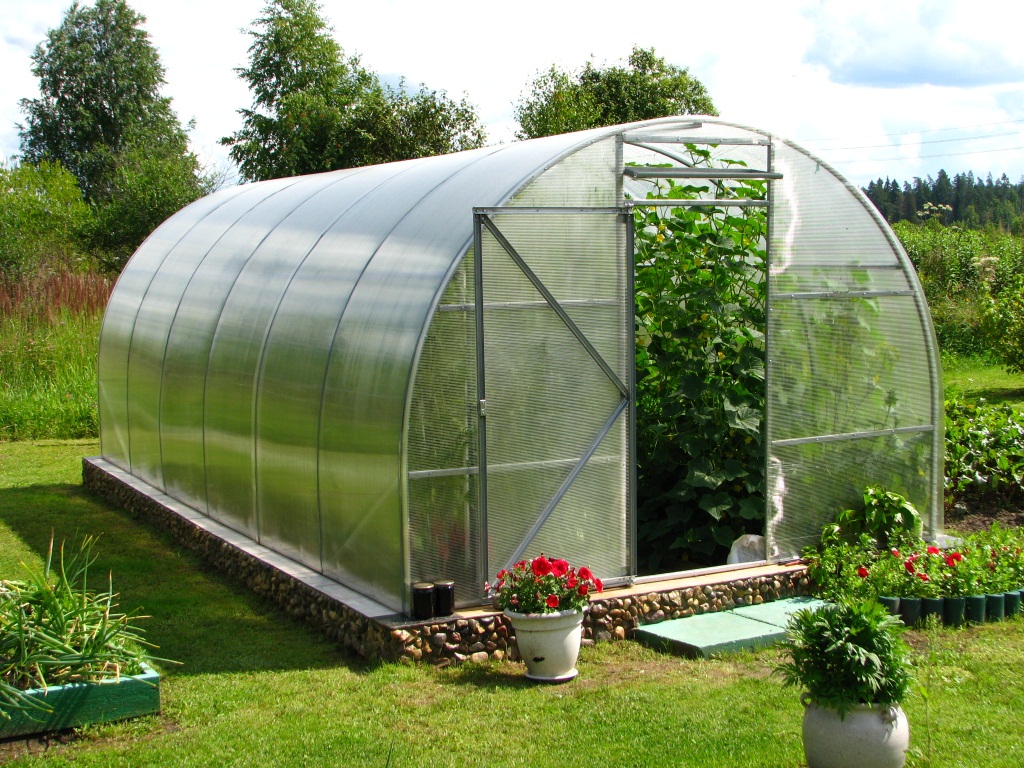
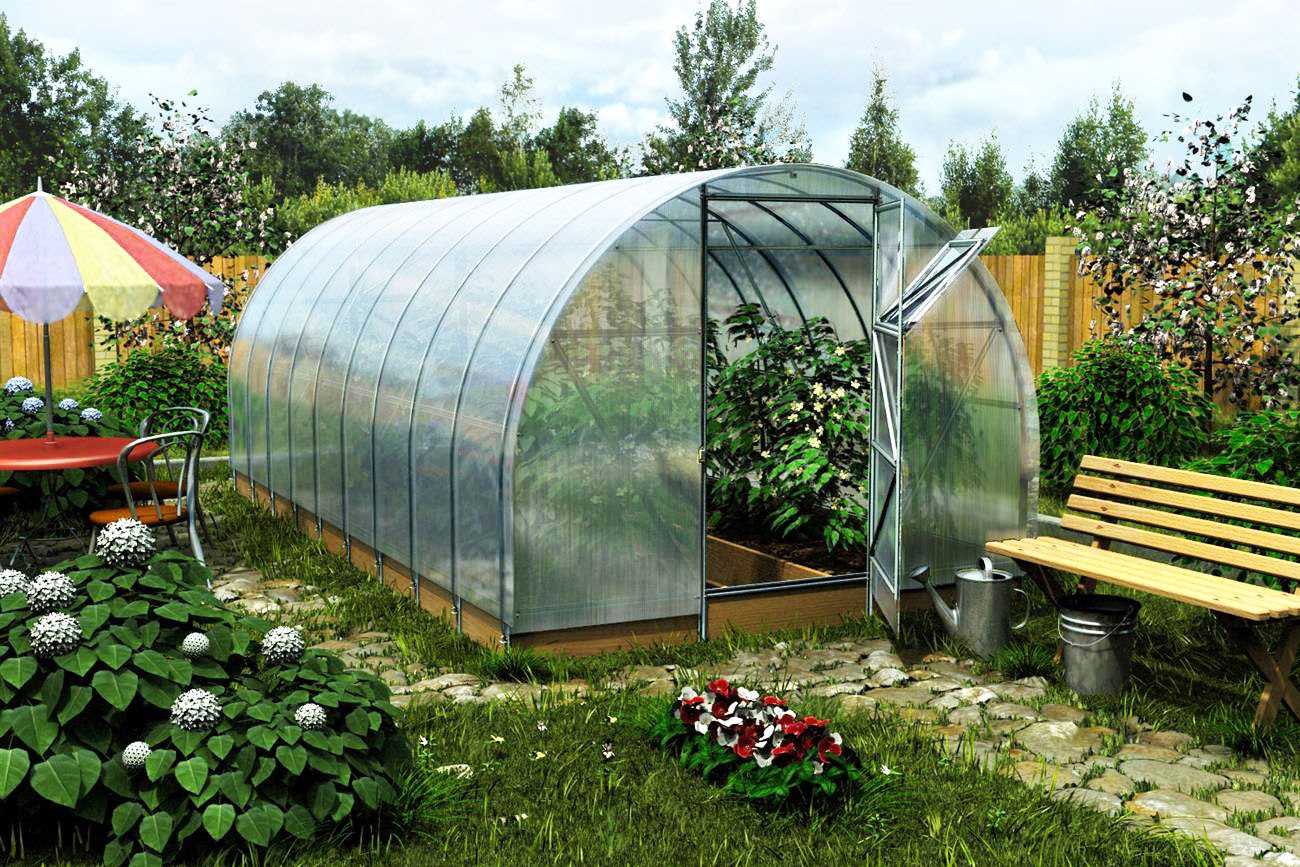
The main advantages of polycarbonate greenhouses are their efficiency and safety. Lightweight structures will not ruin their owner, and polycarbonate coating, unlike glass, cannot break and clog the soil with fragments.
When thinking about how to install a polycarbonate greenhouse, you should start by choosing a suitable site for it.
Optimal for greenhouse construction sunny, sheltered from the wind, located far from buildings, bushes and trees, ideally level place. Of course, not every gardener can boast of having such excellent conditions, therefore, having taken an inventory of their territory, it is necessary to make a start in choosing the design of the future greenhouse from what is.
In the first place in importance when choosing a place is sunlight. If there is no way at all to highlight an area that is evenly illuminated by the sun from morning to evening, preference should be given to a place where the sun is available in the morning.
The distance to bushes, trees and buildings should be at least 3 m.If this condition cannot be met, it would be more correct to move the greenhouse closer to the buildings, trying to distance it from plants with a powerful root system, which will subsequently draw off nutritious juices from the greenhouse inhabitants.
If the site is on a slope and it is difficult to choose a level place on it, you will have to install the greenhouse on the foundation, otherwise the inevitable distortion of the design will negate all the benefits from its use.
Content
Cardinal points
 After the location is chosen, it's time to figure out how to properly install the greenhouse relative to the cardinal points. For a small structure, the dimensions of which do not exceed 3x6 meters, the correct orientation to the cardinal points can be omitted, as it does not have a significant effect on the harvest. It would be more reasonable to place such a greenhouse with its butt towards the prevailing winds in order to reduce their influence on the temperature inside the structure.
If we are talking about a large farm, it is necessary to correctly place the greenhouse on the site taking into account the region:
- for regions located south of 60 degrees north latitude, the greenhouse must be installed with its ends to the north and south;
- for those regions that are on the map above, on the contrary, the ends of the structure are oriented in the western and eastern directions.
Draft is the worst enemy of a polycarbonate greenhouse. Even a small breeze of 5-6 m / s is able to remove 5-6 degrees of heat from the coating. Therefore, if, after orienting the structure to the cardinal points, it turned out that it will be turned by its long part towards the prevailing winds, it is worth considering shielding the entire structure. Has proven itself well in this matter metal profile screen - it not only protects the building from the wind, but also adds warmth to it thanks to the reflected sunlight.
Soil preparation
Now that the entire site has been investigated, suitable places for greenhouses have been selected and their location relative to the cardinal points has been determined, from all the available options, one should choose the one where the soil most closely matches the device of the planned structure.
Sandy soil with deep groundwater is best suited for greenhouse farming.
To determine the type of soil, small pits are dug in all areas intended for the construction of greenhouses. Shurf is vertical pit, about 70x70 cm in size and going deep into the ground by 1 m 20 cm.If a handful of earth taken from the pit does not want to roll in the hand into a primitive tourniquet or ball, then everything is in order, you can install a greenhouse at this place. Otherwise, you need to check the next place you look for for the greenhouse or, if there is none, you will have to take measures to correct the soil before installing the greenhouse.
Simultaneously with the study of the soil, it is necessary to check whether water accumulates at the bottom of the dug pits. Regardless of the type of soil, the appearance of water means only one thing - an additional drainage will have to be built for the greenhouse, otherwise the groundwater will nullify all the useful efforts of the gardener.
If a suitable place has not been found throughout the entire territory, the driest area is chosen in order to avoid the time-consuming procedure of the drainage device if possible. In this area, a pit is dug, about 70 cm deep, the bottom of which is filled 10 cm with a layer of rubble, then a layer of sand 40 cm thick is poured, and fertile soil is laid on the remaining place.
Design selection
 Only now, when the place for a polycarbonate greenhouse is determined, starting from its size, features and needs of the gardener, can choose the most suitable design... The basic rule here is one: the more connecting elements the frame contains, the less reliable it is, but the easier it is to transport it.
The material for the frame is selected based on the functional purpose of the greenhouse. Will it be a seasonal greenhouse, the main advantage of which — ease of assembly and freedom of movement from one place to another, or it is planned to build a fundamental structure - these are the considerations that should prompt the choice of a reliable, cost-effective and convenient material for the frame.
Foundation selection
The indisputable advantage of polycarbonate greenhouses is that they are equally well suited for use as a seasonal greenhouse, a light year-round greenhouse, and for creating a permanent fundamental commercial structure.
Based on the requirements imposed on the greenhouse, choose one of the foundation options for it.
Without foundation
This option is only suitable for seasonal greenhouses used during the spring-summer period and not designed for winter.
Benefits:
- low cost;
- the ability to move the greenhouse from place to place, which avoids the development of soil.
Disadvantages:
- weak stability, a strong gust of wind can sweep the structure and ruin it;
- heat loss: direct contact of polycarbonate with the ground will lead to heat loss up to 10%;
- pests and weeds will be able to safely visit the greenhouse without a foundation.
To increase the stability of a lightweight, foundationless greenhouse, you can bury the legs into the ground - the continuation of the supports and slightly dig in the greenhouse around the perimeter, sprinkling polycarbonate sheets 3-5 cm.
To increase the life of the greenhouse, it is advisable to treat all frame elements in contact with the ground with bitumen.
Point foundation
 A slightly improved installation option, which involves digging blocks, hemp or thick timber into the ground only in those places where the greenhouse supports will be located. With the help of a building corner, the support pillars are attached to such a foundation that immediately increases strength and stability constructions.For greater strength, a beam can be attached to the point foundation around the perimeter of the greenhouse, but it will not solve the problem of rodents, pests and heat loss.
Strip foundation
Such a foundation is a good solution for perennial greenhouses; the gardener can choose the implementation option based on his needs, construction skills and budget. One of the advantages of installing a greenhouse on a foundation is that, thanks to the plinth, it becomes possible to organize high beds inside.
Lumber foundation
Inexpensive and easy to manufacture, the lumber foundation, if necessary, can be moved to another place. The disadvantage of this solution is its fragility. To install the foundation from a bar around the perimeter of the greenhouse, a trench about 20 cm wide is dug, the bottom and walls are covered with roofing material, a beam of 12x12 cm is laid on top of it, impregnated with a moisture-repellent agent, wrap it with roofing felt, the free space is covered with earth. The corners of the foundation are tied and the frame of the greenhouse is attached to it with the help of construction corners.
Block foundation
This type of foundation provides good waterproofing. To make it, they dig a trench around the perimeter of the greenhouse, 25 cm wide, deep to the level of freezing of the ground. A 10 cm gravel layer is poured at the bottom. Concrete is poured from above and, while it has not hardened, hollow blocks are installed. The horizontal and vertical corners are brought out and poured from above with another layer of concrete. The foundation is leveled, the concrete is allowed to harden and, after that, the greenhouse frame is attached to it.
Concrete foundation
It differs from the previous version in that a layer of sand is laid on top of the gravel cushion and compacted so that it does not reach the top by 20 cm. Formwork is made with a height of 20 cm or more above the soil level, lay the reinforcement mesh and poured with concrete. After it dries, the formwork is removed and the frame is attached to the finished foundation.
Assembling a polycarbonate greenhouse
 Depending on which version of the greenhouse the gardener has chosen, the sequence of assembly of structural elements may differ. The manufacturer supplies purchased polycarbonate greenhouses with instructions, a simple adherence to which will ensure maximum benefit from the operation of the product.
Assembling a self-invented and made frame depends entirely on the ingenuity, skills and experience of the gardener.
The general rule, suitable for almost all types of greenhouses, can be considered a recommendation in the first place collect end planes... The second stage depends on the specific conditions - sometimes it is more rational to sheathe the gables with polycarbonate immediately and then proceed to assembling the rest of the frame, and sometimes a more reasonable solution would be to collect the entire frame as a whole before laying the coating.
The fastening of the frame to the foundation also depends on the design features of the greenhouse. This is either a complete assembly of the frame and attaching it to the finished base, or stage-by-stage fastening: first the ends, then the arches and, finally, the longitudinal connecting elements.
Polycarbonate sheathing
 When buying polycarbonate, it is better to opt for sheets with a thickness of 4 mm and higher. The shelf life of the coating must be at least 10 years. Cheaper options for outdoor use are not suitable.
It is best to work on the sheathing of the greenhouse with polycarbonate at a temperature of 10 degrees above zero. This is due to the fact that polycarbonate in such conditions flexible enough, in order to cover the arched frame with a whole sheet, it does not crack, as in frost, and does not expand, as at a higher temperature.
When mounting polycarbonate sheets on the frame, you must ensure that the protective film is outside the structure. After the completion of the installation, it must be removed, otherwise, under the influence of the sun, it may behave unpredictably.
When installing polycarbonate on the end parts, it is easier to first attach it to the frame elements and only then cut off the protruding edges than to cut out the outline in advance.
Fasteners are usually supplied with factory greenhouses, which decide the question of how to mount polycarbonate to the frame. For cladding homemade structures, you can use self-tapping screws or screws, always with washers, or purchase special fittings for plastic.
At the joints of polycarbonate sheets, an overlap of 10 cm is made or they are connected using a special docking profile.
It is important to ensure that the sheathing fits snugly, without gaps, to the frame. To do this, use a commercially available sealing profile or get by with double-sided tape. The gardener must decide for himself what is more important to him: saving on structural elements or the return on the maximum functioning of the greenhouse.
If the greenhouse remains to winter on the site, its arches must be supported with 40x40 beams and not allow snow to accumulate on the roof of the structure. Otherwise, the polycarbonate may crack under the influence of cold and stress.