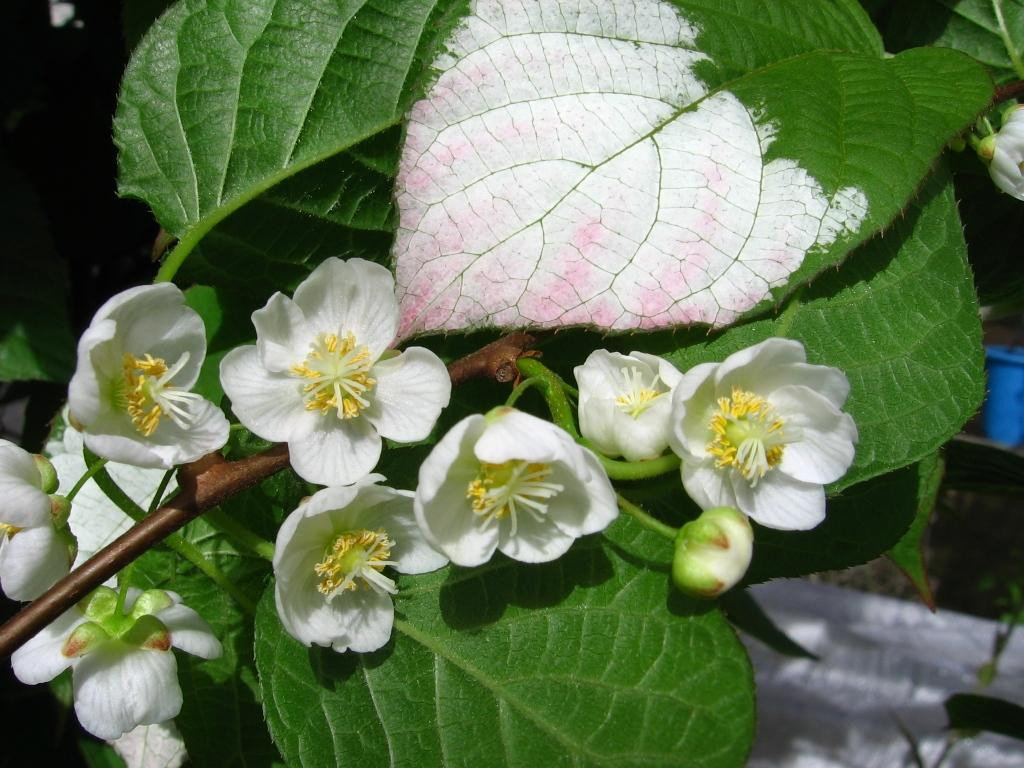
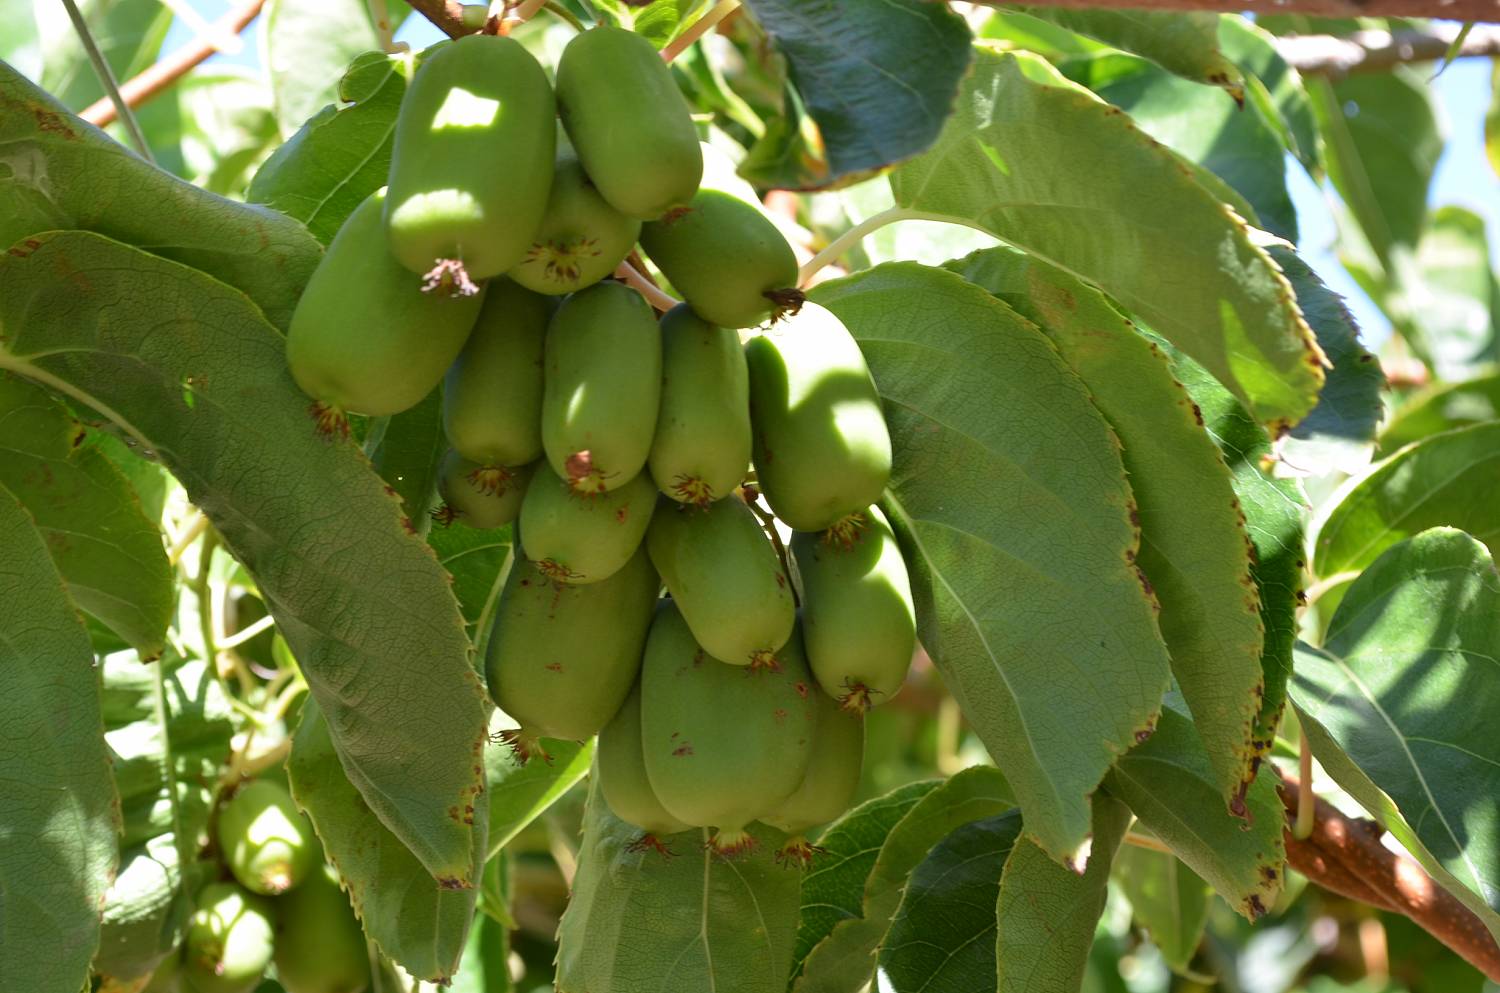
Delicious actinidia (Actinidia deliciosa), or Chinese (Actinidia chinensis), is often called kiwi and Chinese gooseberries, because China is considered the birthplace of this fruit culture. The plant in the wild lives in a warm subtropical climate and is a rather large (up to 7 m long) tree-like liana. But at the same time, actinidia is quite easy to grow in room conditions, using ripe fruit purchased in any vegetable tent or supermarket.
Content
Preparing the seeds
At home, you can safely grow mature fruiting plants and even collect edible and tasty fruits from them. The process is simple, but painstaking, consisting of several stages.
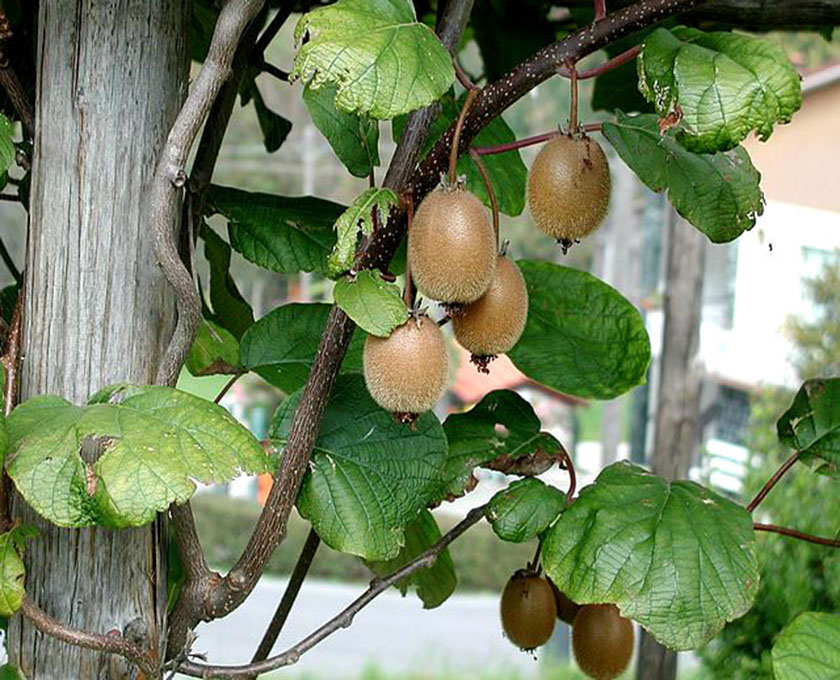
Kiwi can be grown at home and even reaped
Planting material can be purchased at the store, but it is much easier to prepare actinidia seeds for planting yourself.

Actinidia seeds can be purchased at the store
To do this, you will need a ripe fruit, on which there are no traces of mechanical damage and putrefactive processes. Any variety will do, since almost all varieties of Chinese berries grow well at home, moreover, sellers are rarely aware of the varietal affiliation of their goods.
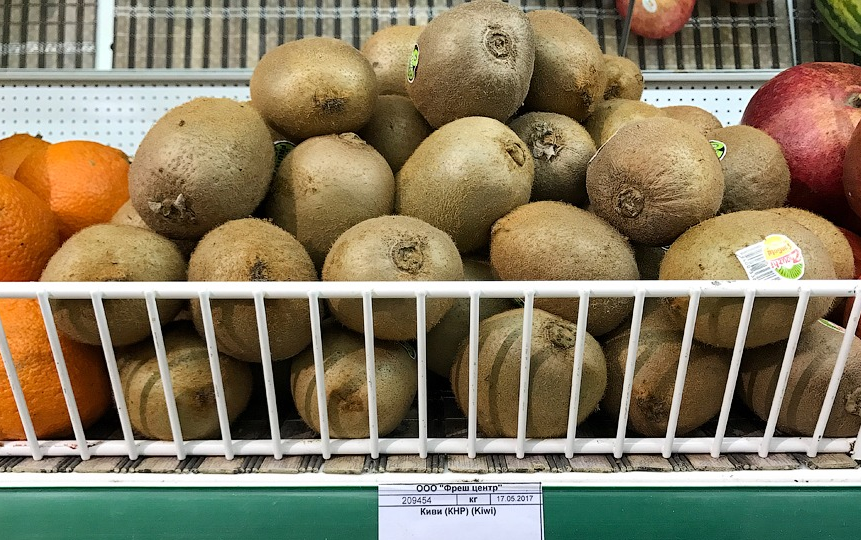
Kiwi can be bought at any grocery store or vegetable stand
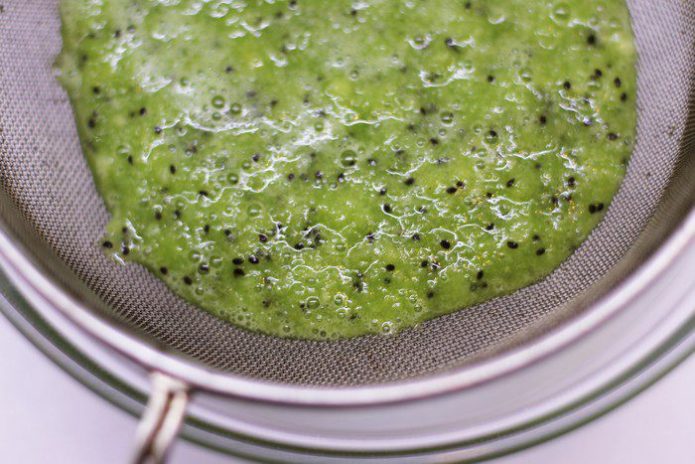
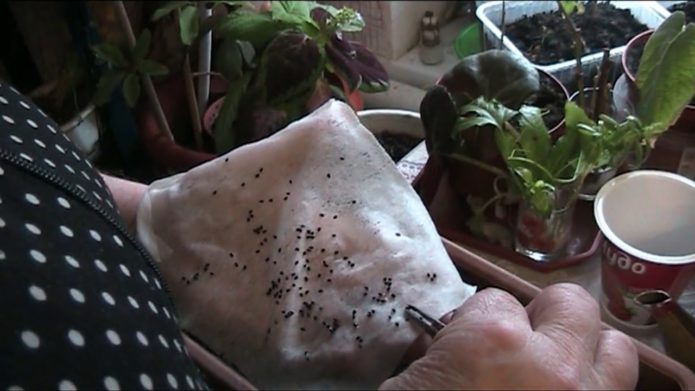
The grains must be removed and try to clean the pulp as much as possible, because its remnants can lead to rot. You can do it like this:
- Kiwi is peeled from soft skin.
- The pulp is kneaded with your fingers, a fork or spoon, so that it becomes mushy.
- The resulting mass is poured with water for several hours, while periodically mixing the contents and changing the water. The seeds that float to the surface are collected.

The porridge-like pulp of kiwi is poured with water, then the emerging seeds are collected
- The fruit is cut into pieces, with the tip of a knife, the seeds are carefully separated from the pulp.
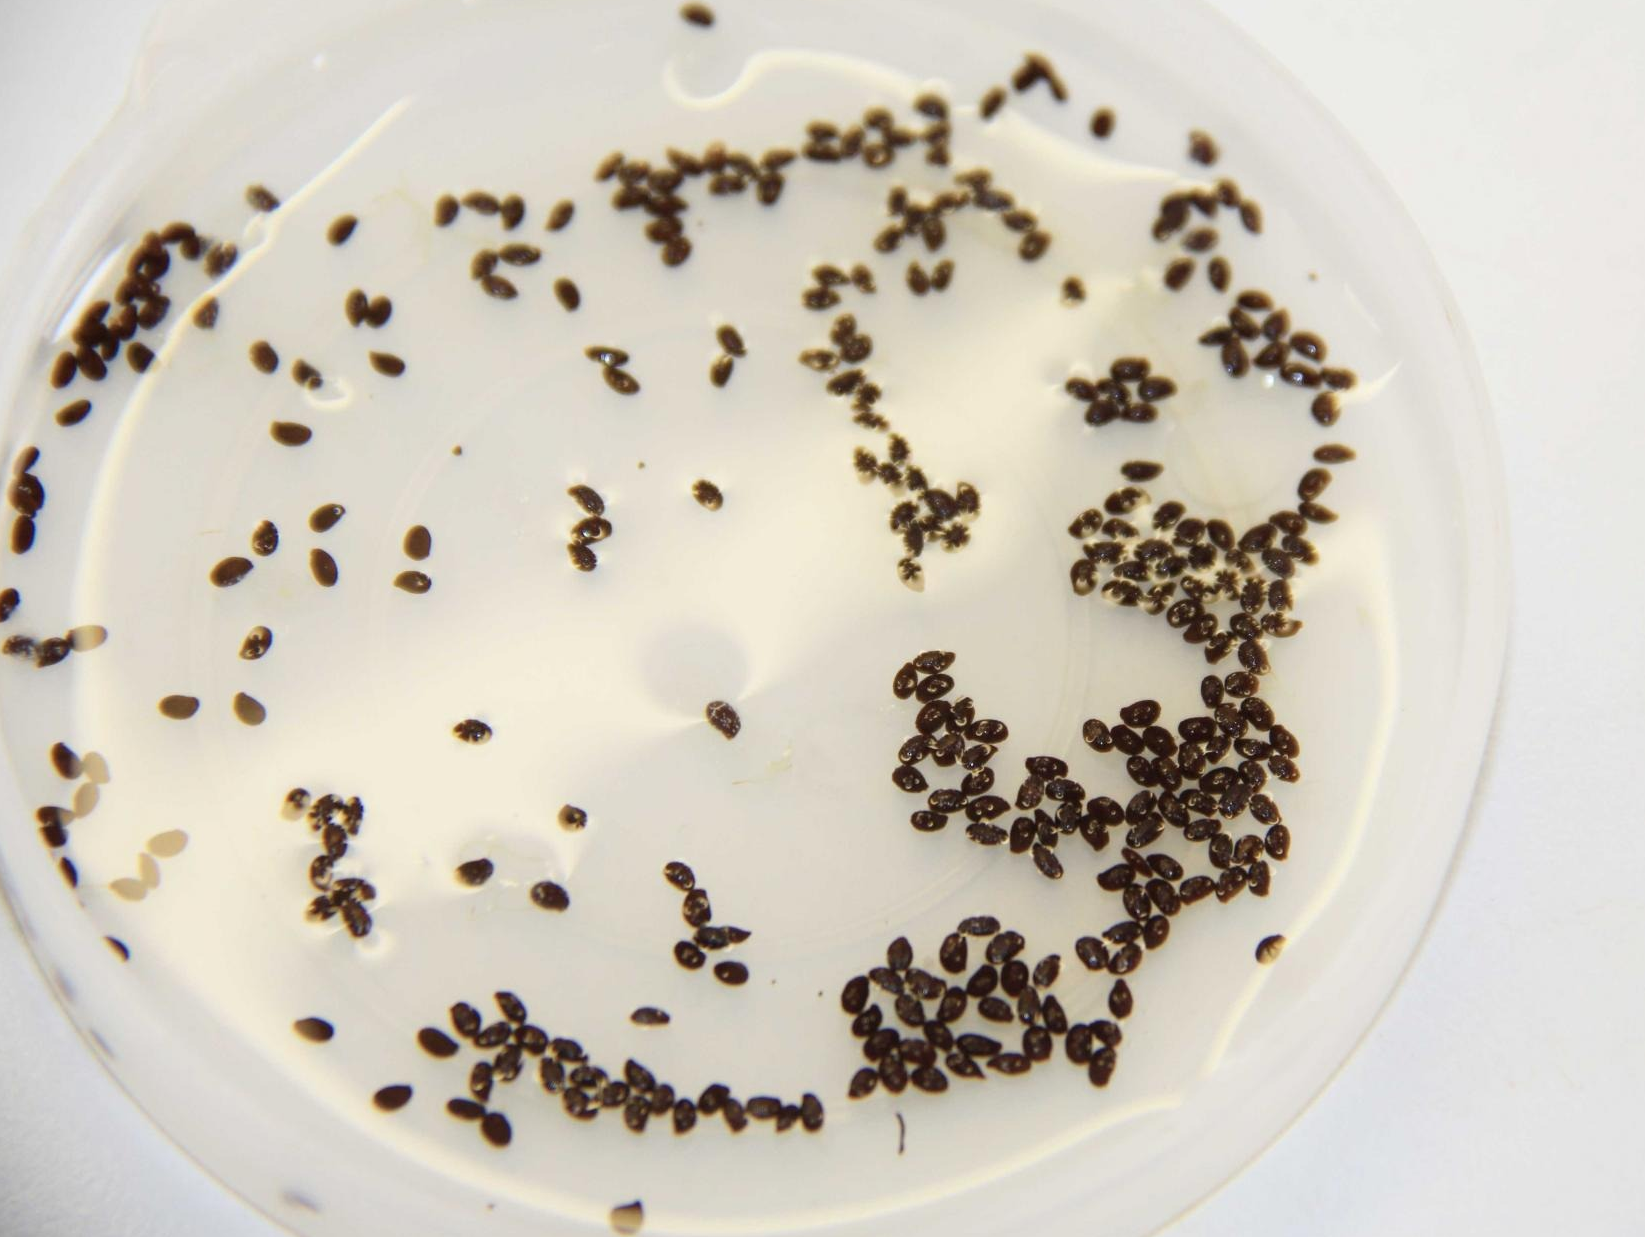
- Then the seeds are washed in running warm water, wrapped in several layers of gauze, or through a strainer.
Kiwi pulp can be grated through a sieve, separating the seeds
- The collected and well-washed grains are dried for 3-4 hours by spreading them out on a linen cloth or paper towel.

The washed kiwi seeds need to be dried


Seeds should be taken with a stock, given that not everyone can sprout. Usually 20-25 pieces are enough for planting.
To increase the germination of actinidia seeds, it is recommended to stratify:
- The dried seed is mixed with coarse clean and slightly moist river sand, which is pre-calcined or steamed.
- The mixture is poured into a linen bag or wrapped in cotton cloth, then kept for 2–2.5 months at a temperature of about 3–5 ° C in the vegetable compartment of the refrigerator or any other place with similar conditions.
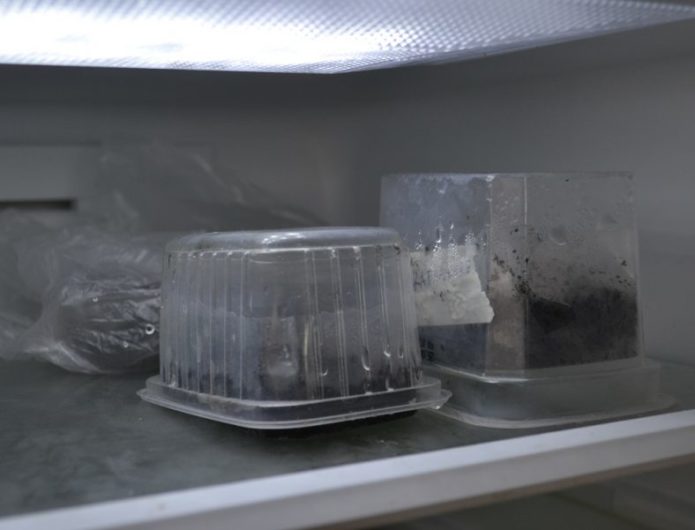
Seeds are stratified in the refrigerator
- Once every 7-10 days, the seeds are unwrapped for airing for 10-15 minutes.The sand is kept moist.

After stratification, seeds cannot be stored; they must be planted immediately.
Video: collecting kiwi seeds
Germinating seeds
Early spring is considered the best time to plant kiwi.... Actinidia seeds, before sowing, must first germinate. This simple procedure significantly increases the germination of the seed.
The technology is as follows:
- Pieces of natural fabric, cotton pads, etc., well moistened with hot water, are laid out in low bowls.
- On the surface of the laid material, the seeds are laid out in one layer at some distance from each other, so that the roots do not intertwine in the future.

Kiwi seeds are spread on a wet cotton pad for pre-germination
- The container is covered with a polyethylene film or transparent glass to create the effect of a mini-greenhouse, then put it in a warm and well-lit place without drafts (for example, on the southern window sill).

Kiwi seeds, laid for germination, must be covered with glass or a plastic jar so that they do not dry out
- The shelter must be periodically removed for ventilation. It is better to clean it up at night and return it to its original place in the morning. At the same time, a little water is added each time.
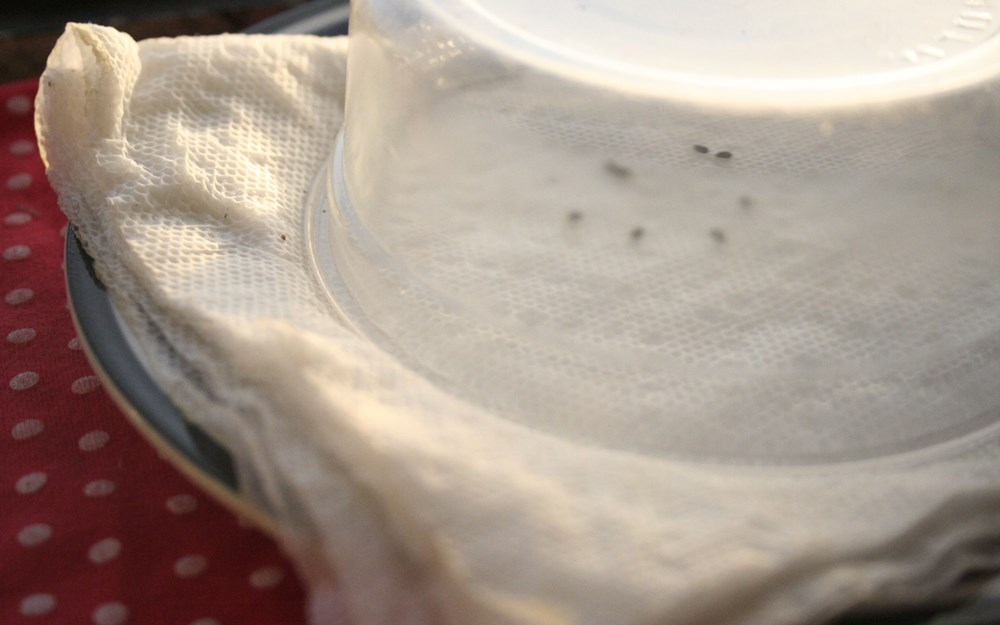
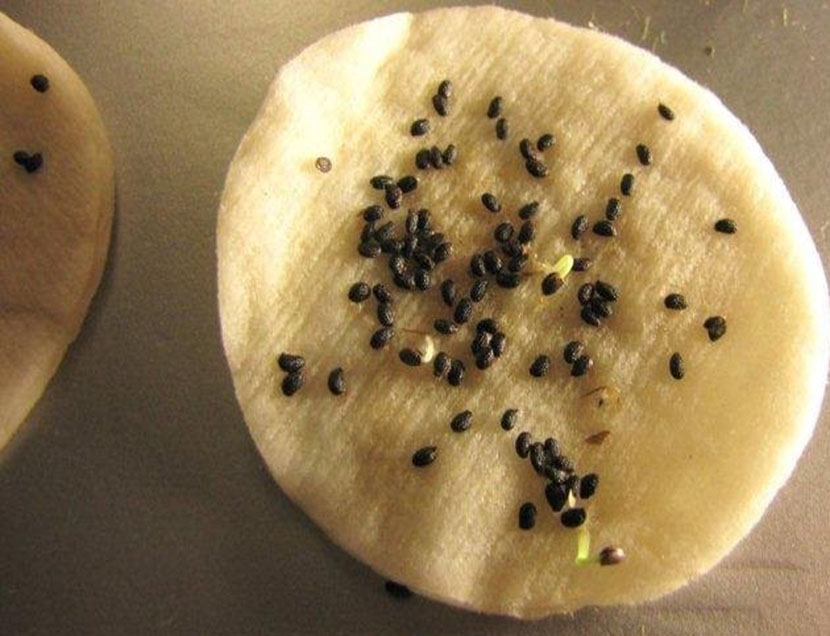
- After 1.5–2 weeks, the seeds will hatch and thin white roots will appear.

Kiwi seeds will not hatch all
There should not be a lot of water in the bowl, otherwise the seeds will not germinate, but will sour.
Video: preparing actinidia seeds for planting
Preparing soil for kiwi
For actinidia, light, breathable soil with low acidity is best.... Ready-made potting soil for tropical lianas or citrus crops can be purchased at specialized gardening stores.
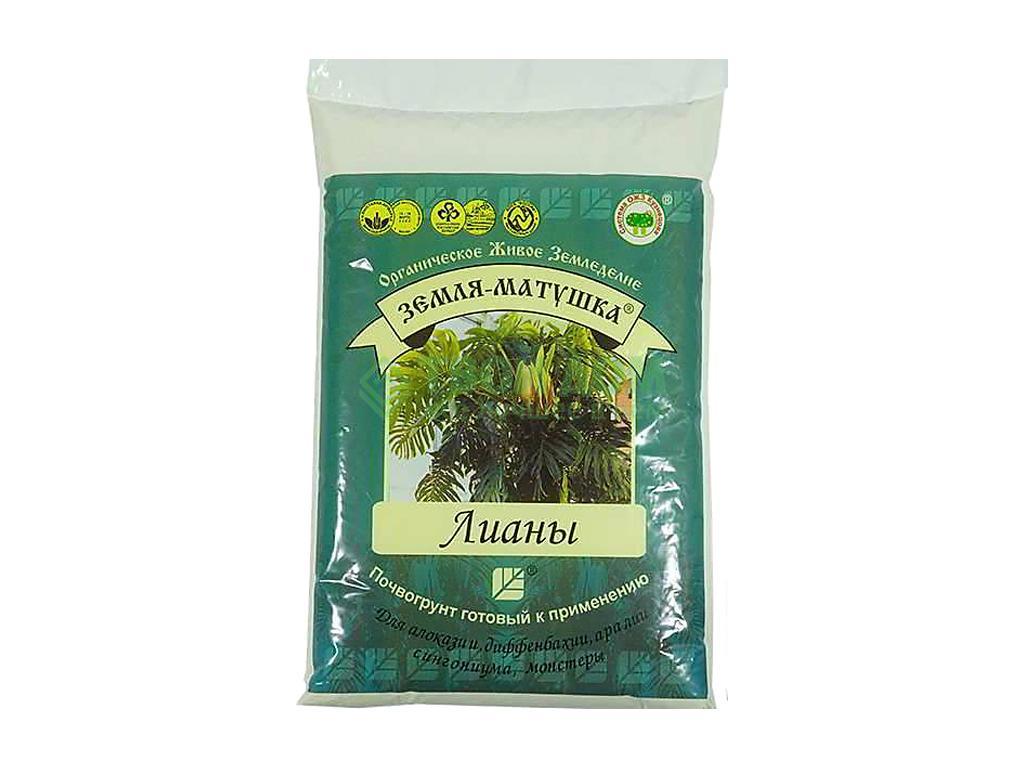
You can buy special soil for vines in stores
You can also prepare your own soil composition from:
- turf or leafy land;
- peat;
- humus;
- sand.
All components are taken in equal proportions.
To improve aeration, a little perlite or vermiculite can be added to the soil mixture.
The soil must be disinfected, since the delicate kiwi roots are extremely sensitive to any fungal infections... For this, the substrate is first thoroughly spilled with a sufficiently strong solution of potassium permanganate, and then steamed or calcined in an oven at a temperature of at least 100-110 ° C.
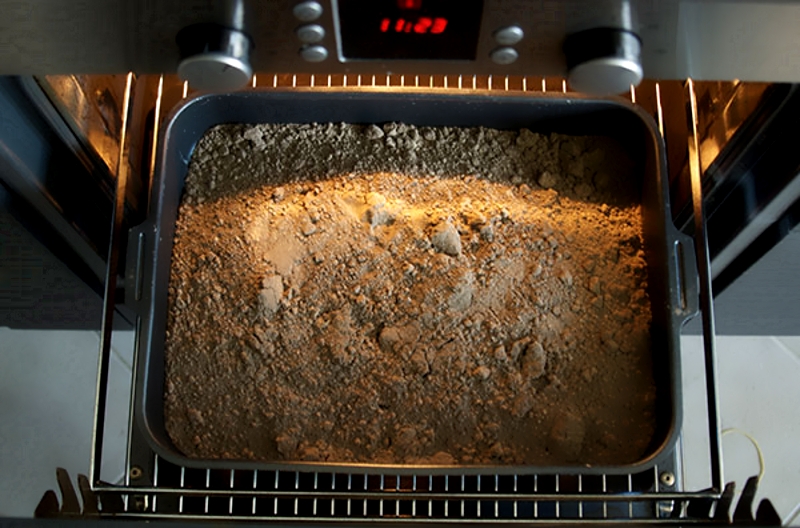
The soil must be steamed in a water bath or baked in the oven
Planting actinidia seeds
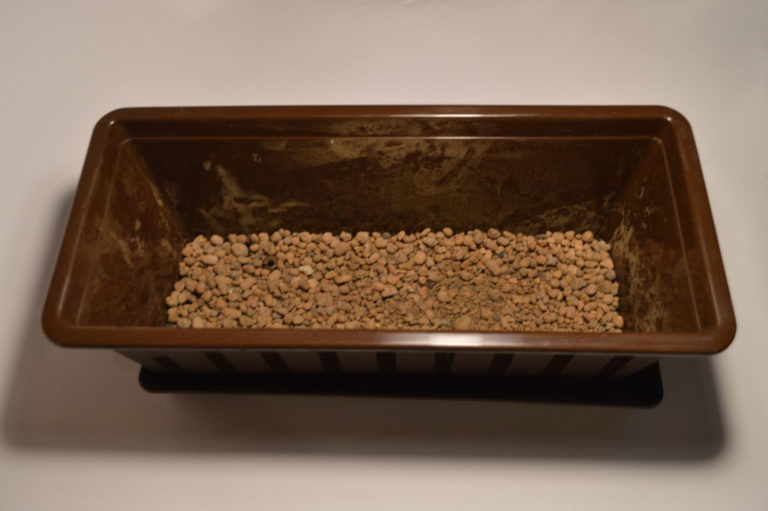
Since the root system of actinidia is superficial, the planting capacity should not be high. A flat dish (no higher than 10–12 cm) will do. It must first be disinfected with a solution of potassium permanganate and dried. If there are no drain holes, they should be made.
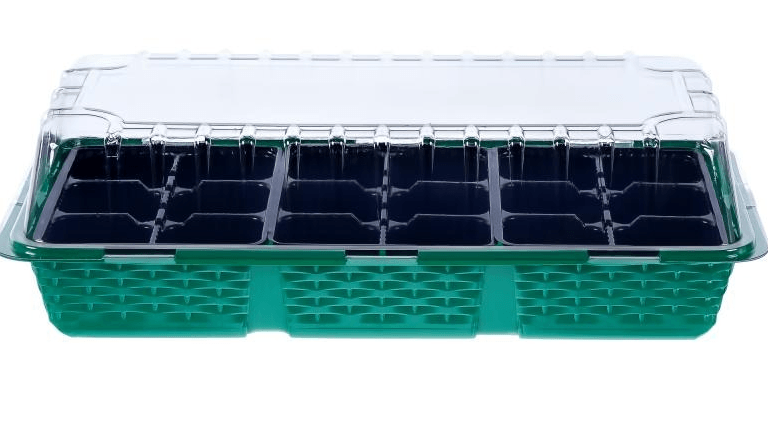
You can use a special mini-greenhouse for planting kiwi
The landing technology is as follows:
- A drainage layer (1.5–2 cm) of broken shards, pebbles or expanded clay is laid at the bottom of the planting container.

At the bottom of the tank, drainage must be installed
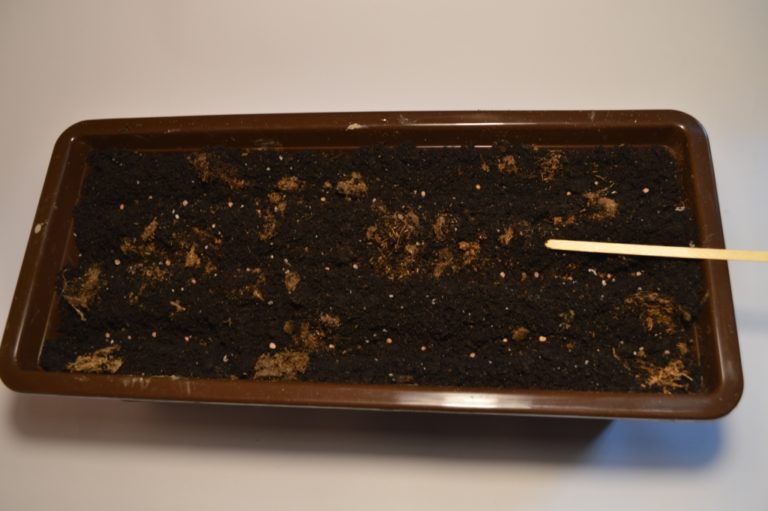
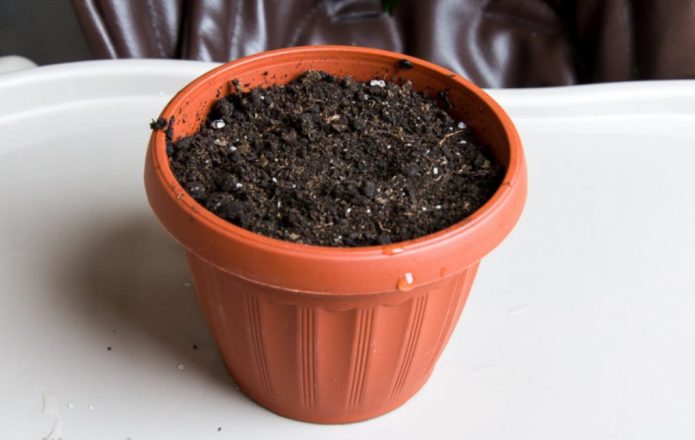
- Then the prepared substrate is poured (4–5 cm).
The container is filled with a substrate with a layer of 4-5 cm
- The earth is moistened with a spray bottle.
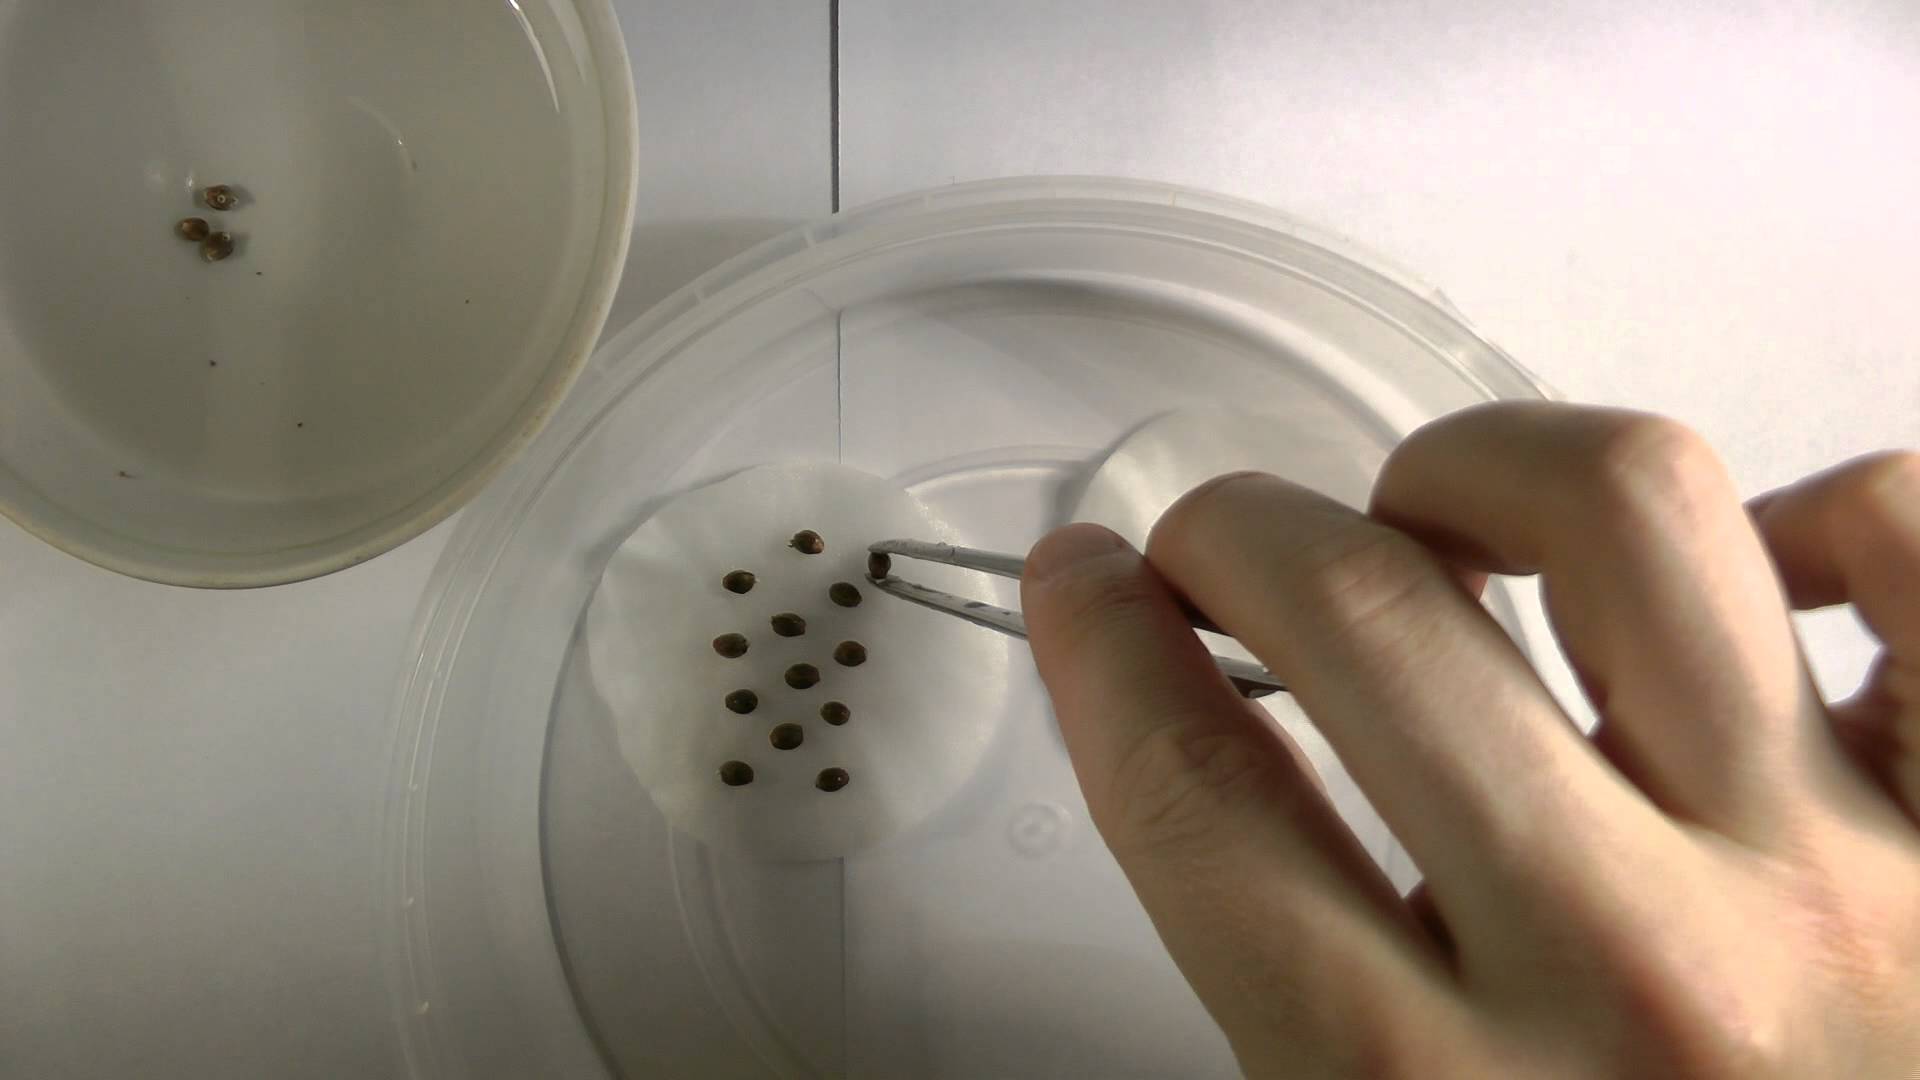
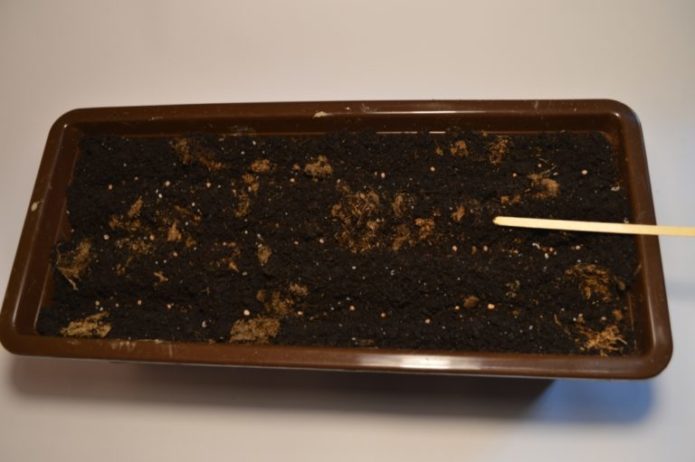
- Using tweezers or a toothpick moistened with water, carefully spread the hatched kiwi seeds on the surface of the soil, distributing them evenly.
Small kiwi seeds are best planted with tweezers
- The crops are covered with a layer of earth (2-3 mm). No need to tamp, otherwise tender seedlings may not break through.
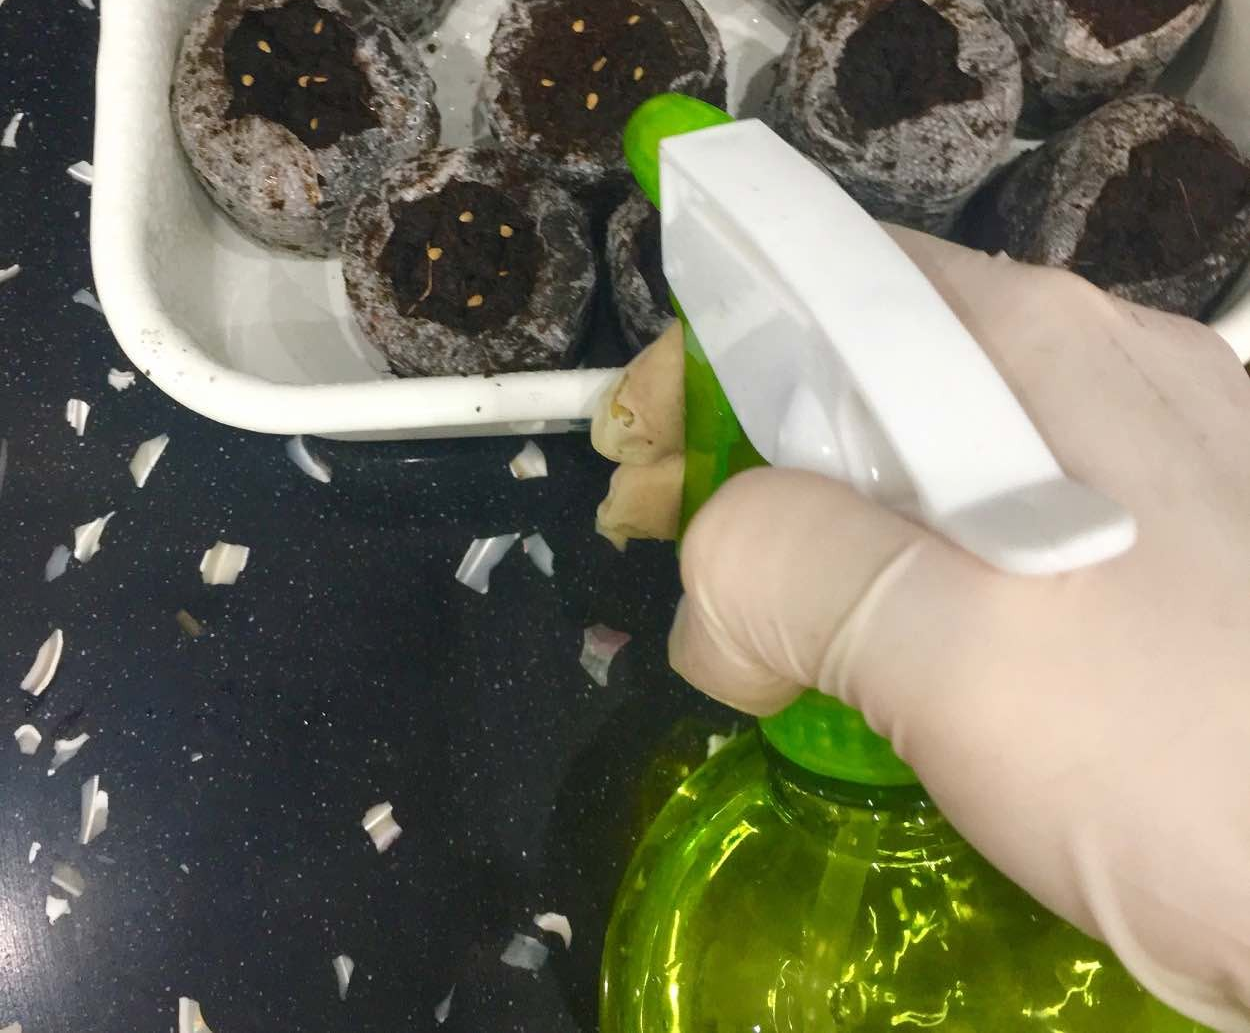
- Spray with water from a spray bottle.

Water the seedlings carefully so as not to erode the soil.
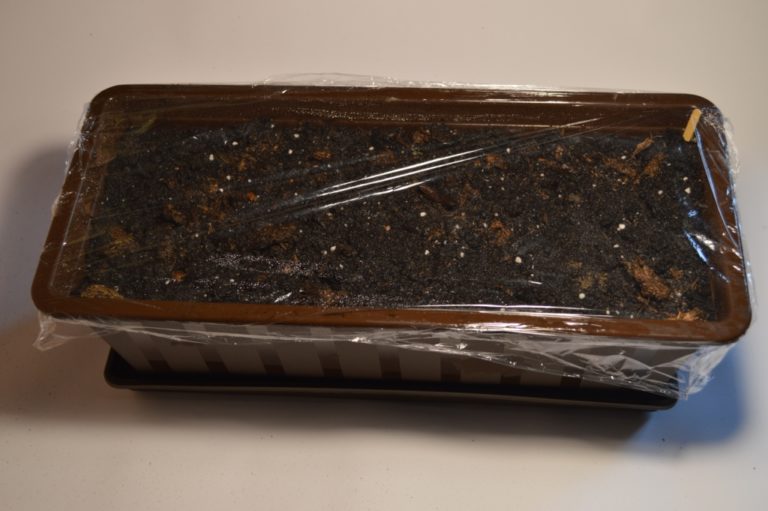
- The dish is covered with glass or foil to create an impromptu greenhouse and placed in a warm place with a temperature of at least +25 ° C and good lighting.

The dish is covered with a film or glass to create a mini-greenhouse
- Before the first shoots appear, the shelter is removed daily for airing, while condensation is removed from the glass.The substrate is moistened regularly; in no case should it be allowed to completely dry out.

Sowing of dry non-germinated kiwi seeds is allowed, but only the seedlings will have to wait much longer.
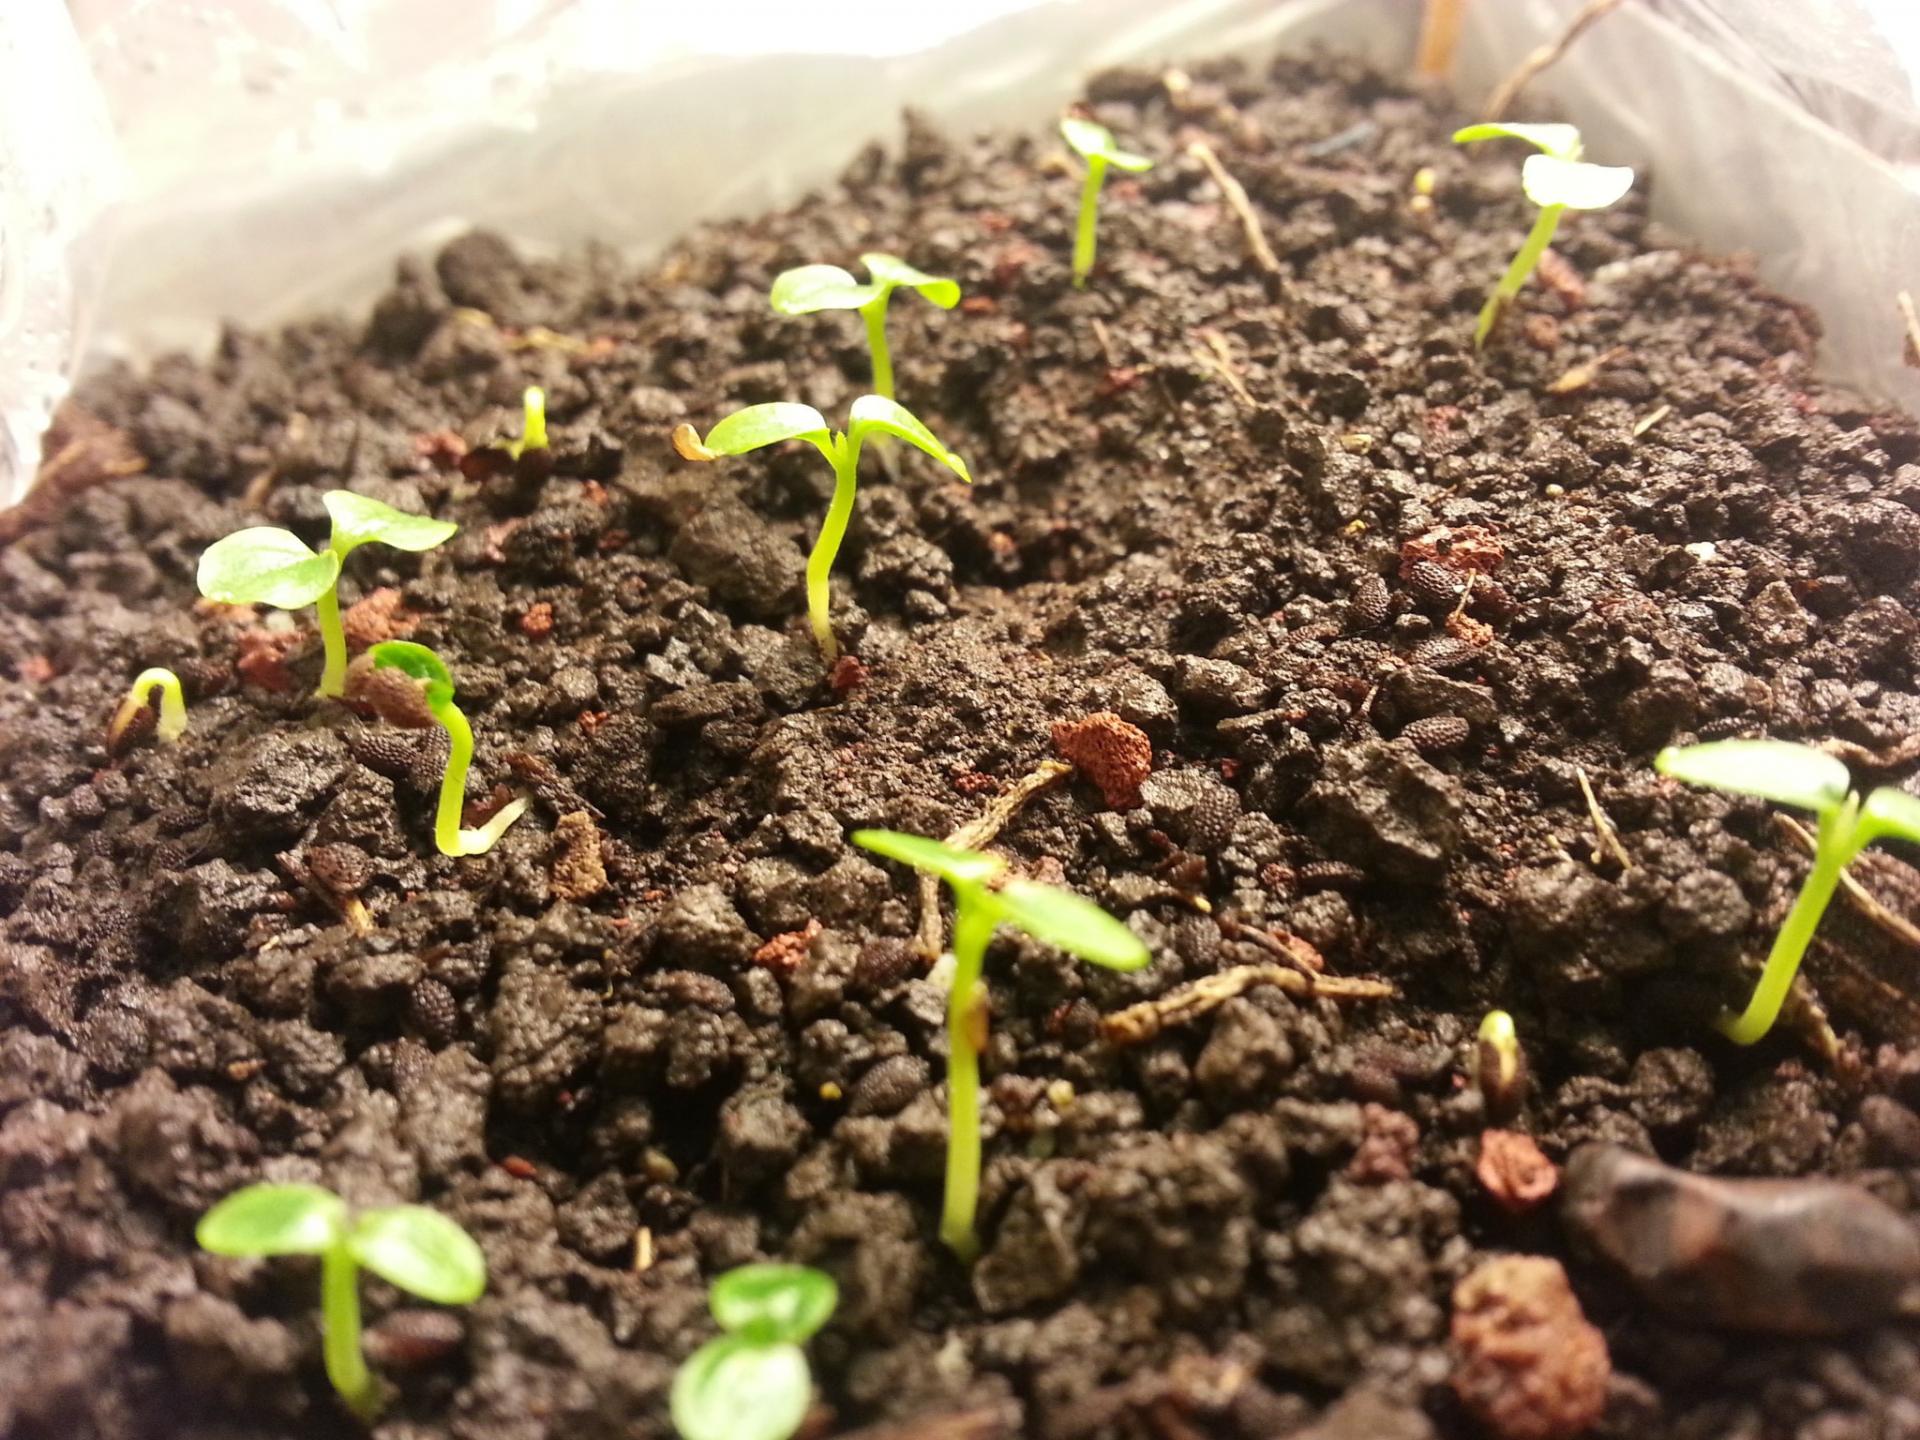
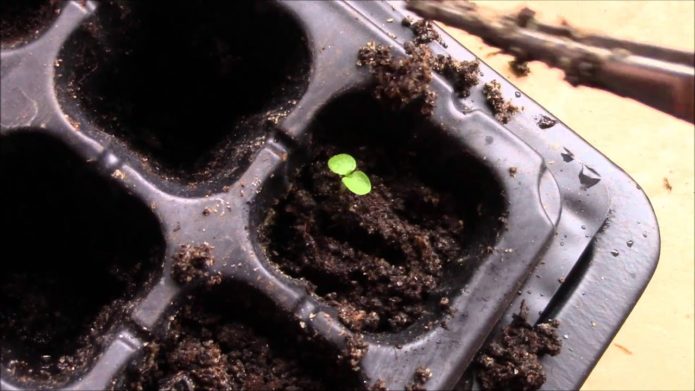
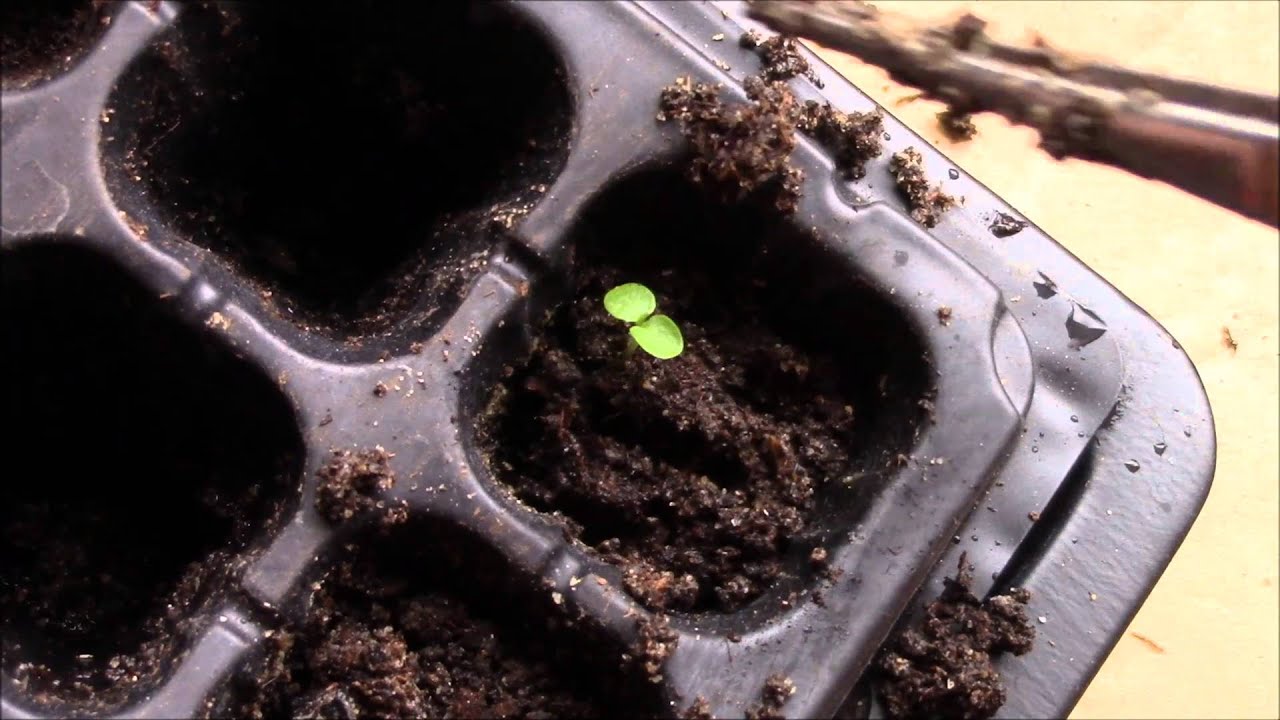
Seedlings appear in about two weeks
Usually, mass shoots are shown in 10-15 days. Weak and frail seedlings are pulled out immediately, leaving the most viable and strong ones. Small plants begin to accustom themselves to natural air circulation, gradually increasing the airing time. When the sprouts reach 1–1.5 cm, the cover is removed completely.
Video: sowing kiwi
Pickling kiwi seedlings
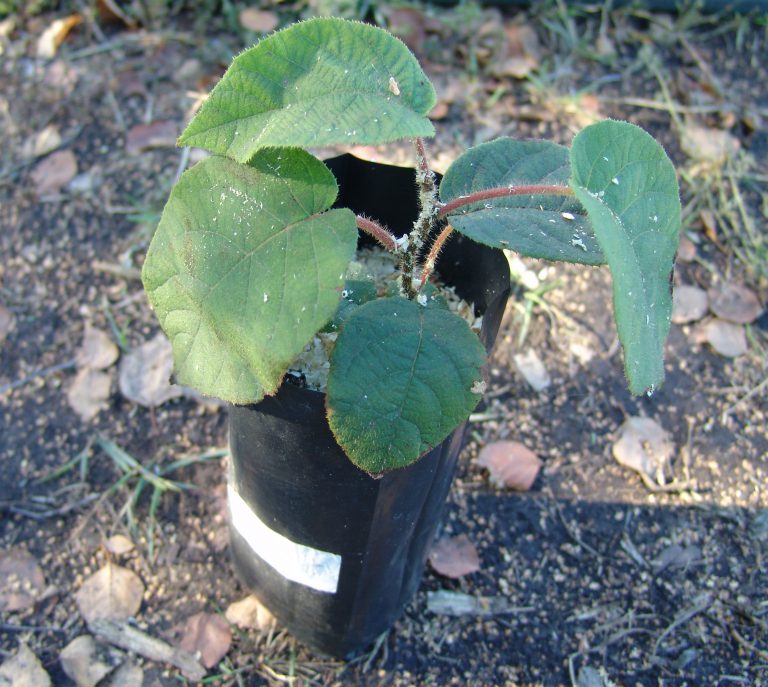
After about 30–40 days, when the seedlings reach a height of 8–10 cm and have the first pair of true leaves, a pick is carried out in separate containers. It is extremely undesirable to postpone this procedure, since the root system of actinidia is quite powerful and develops quickly: if you are late with the transplant, the roots will grow and get confused with each other. The tangled roots will have to be torn apart, which will not benefit the plant.
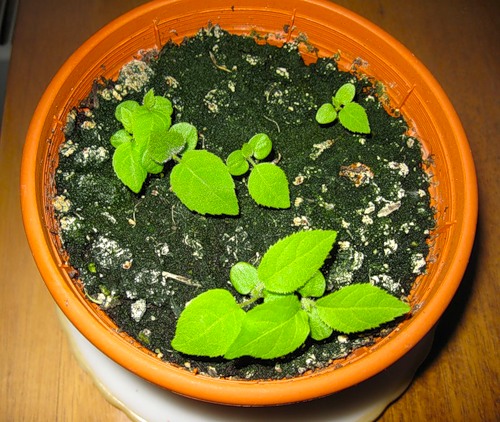
After the appearance of the first pair of true leaves, kiwi seedlings need to be planted
Overgrown seedlings will compete and overshadow each other, as kiwis have wide and spreading leaf blades. As a result, the plants will stretch out due to lack of lighting.
The pick is carried out as follows:
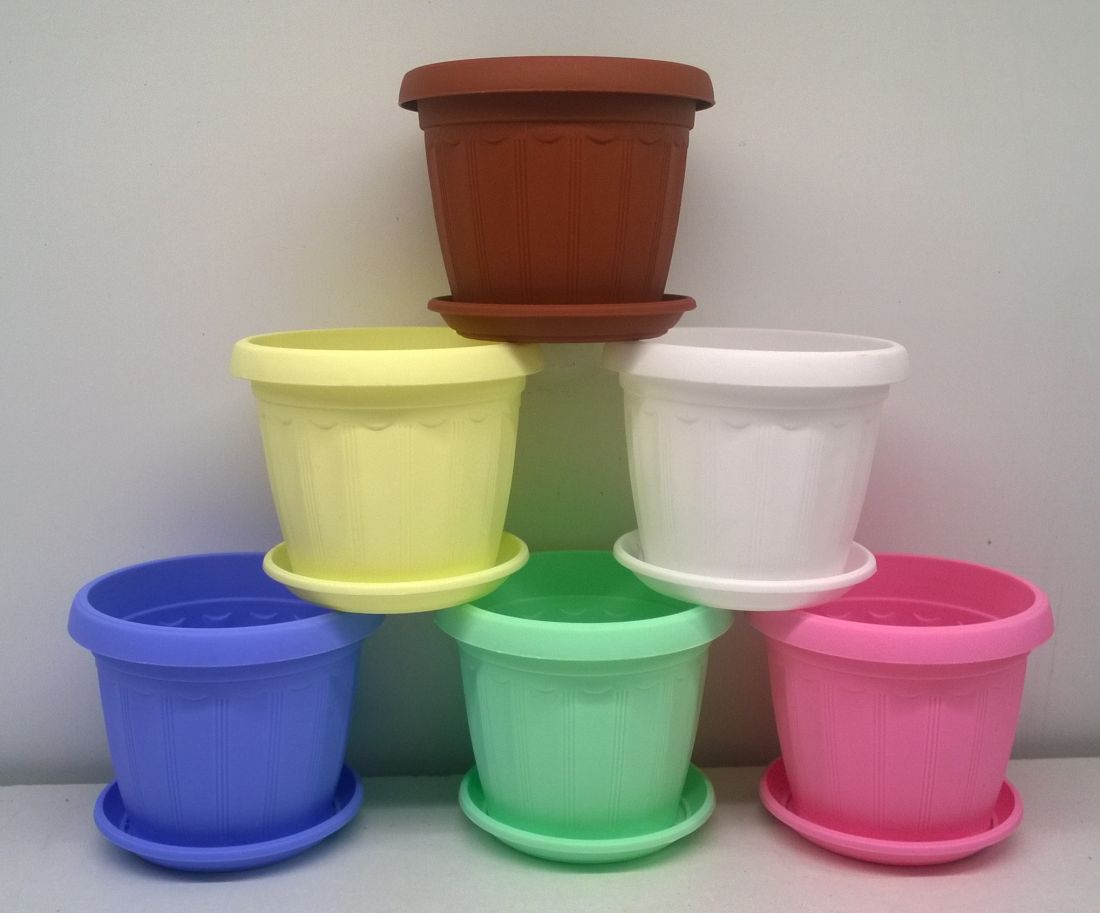
- For transplanting small actinidia, pots with a diameter of 8-10 cm are selected, they are pre-washed well and disinfected with potassium permanganate.

For transplanting kiwi seedlings, choose pots with a diameter of 8-10 cm
- A drainage layer must be laid on the bottom.
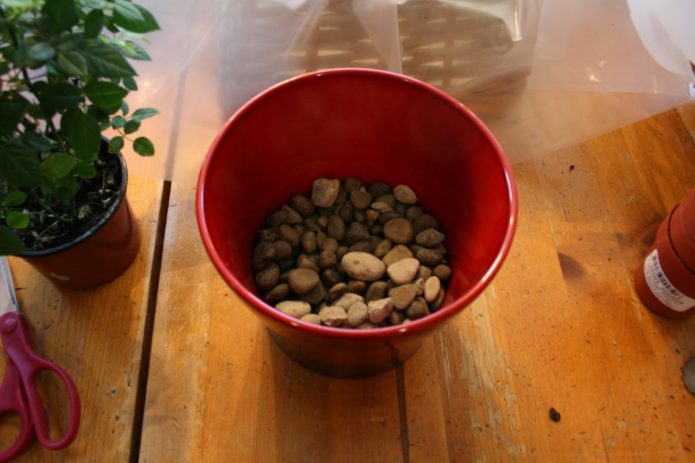
A drainage layer must be poured at the bottom of the pot
- Pour soil on top. It is recommended to use a more fertile substrate. To do this, the amount of peat is cut in half, and the sod land is taken twice as much. The mixture is made up of:
- turf or garden land - 2 parts;
- peat - ½ part;
- sand - 1 part;
- humus - 1 part.
The pot is filled with prepared soil mixture
- One by one, the plants are removed from the common container and planted in individual pots. Kiwi seedlings are particularly tender and fragile, so you need to act very carefully, trying not to damage the root system.
Experienced gardeners dive kiwi seedlings as early as possible so as not to damage the roots
- It is recommended to install a support for the rhinestone so that the future vine can climb along it. Doing this later increases the risk of rhizome damage.
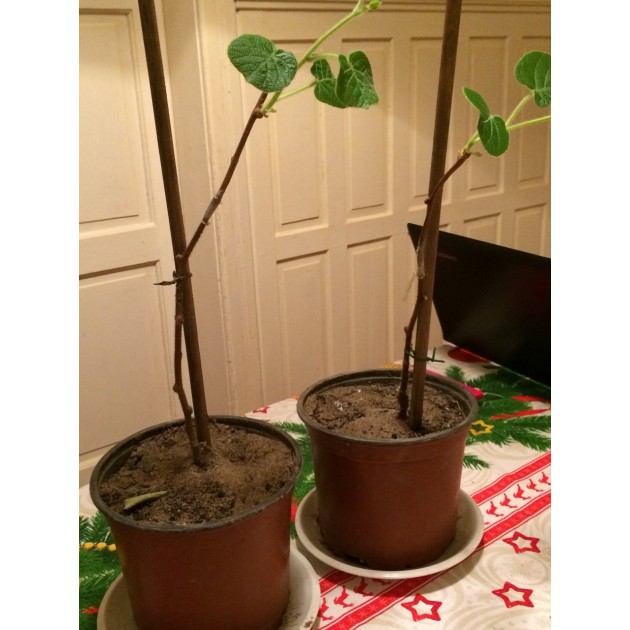
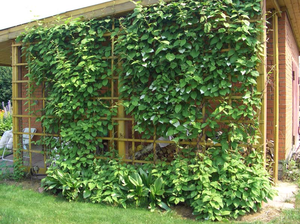
Since the kiwi is a vine, it definitely needs support.
- The first time the seedlings need to be shaded so that they do not get direct sunlight.
- After 2-3 weeks, the pots with the transplanted kiwi are placed in a sunny and well-lit place. It is advisable to organize artificial lighting using phyto-lamps or fluorescent lamps, so that the length of daylight hours is at least 10-12 hours.
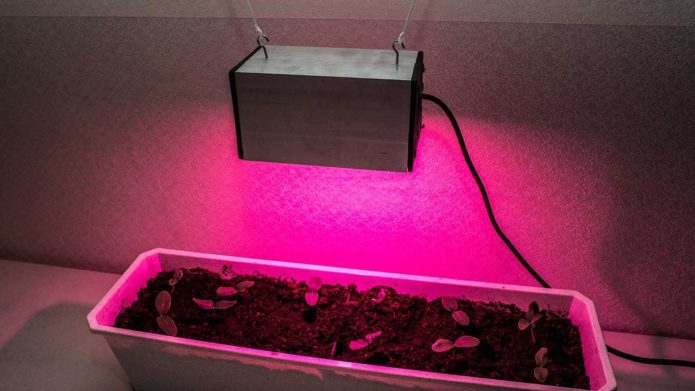
Kiwi seedlings need additional lighting with phytolamps


After the appearance of 7-8 full-fledged true leaves, the grown actinidia seedlings can be transplanted to a permanent place of residence (in open ground, a greenhouse, etc.) or into a more spacious container.
Kiwi sapling with 6-7 true leaves can be planted in a permanent place
Video: diving actinidia seedlings
Video: grow kiwi from seeds
It is not difficult to grow actinidia from seeds; even a novice gardener can cope with this task.By creating conditions as close as possible to the natural climate of the tropics, it will be possible to obtain not only healthy flowering plants, but also a large number of tasty, aromatic and healthy fruits.
1 comment